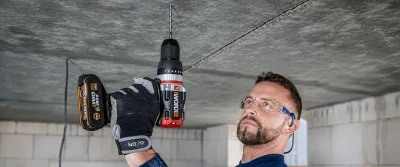
Drilling into brick is a straightforward DIY job when you use the right drill, masonry bit and technique. The aim is not simply to make a hole, but to create a clean, accurately positioned fixing without cracking the brick or damaging the surrounding wall.
Whether you are fitting a shelf, hanging a mirror, mounting a security light or installing a wall bracket, the same fundamentals apply: understand the wall, choose the correct equipment, start with control and allow the tool to do the work.
This guide explains how to drill into brick safely, when it may be better to use a mortar joint, and how to avoid the common mistakes that lead to chipped brickwork, wandering holes and loose wall plugs.
Check for hidden services before you drill
Electrical cables and water pipes may be concealed behind the wall. Use a suitable detector where services could be present, switch off the relevant electrical circuit when necessary, and do not drill until you are confident the chosen position is safe. Wear eye protection and control masonry dust throughout the job.
Understand what you are drilling into
Brick, mortar, concrete block and plaster may look similar from the surface but behave differently under a drill bit.
Before choosing a drill setting or masonry bit, identify the material beneath the painted or plastered finish. A solid clay brick usually provides a strong fixing, while hollow brick and concrete block may require a different anchor. Older or weathered mortar can also crumble if it is drilled too aggressively.
Solid brick
Usually provides a strong fixing when the hole is centred in sound brick and the correct wall plug is used.
Hollow brick or block
Requires controlled drilling and an anchor designed to grip correctly without crushing the internal cavity.
Mortar joint
Easier to repair later, but often weaker than the surrounding brick and not always suitable for heavy loads.
Brick or mortar?
For a permanent or heavier fixing, sound brick is normally the better choice. Mortar may be appropriate for lighter items or situations where future repair matters, but its condition and strength should be assessed first.
Choose the position carefully
A well-positioned hole is less likely to crack the brick and more likely to hold securely.
Avoid drilling close to the edge or corner of a brick. The thinner the amount of material surrounding the hole, the greater the chance of a chip or crack developing. Try to position the fixing near the centre of the brick face while still allowing the item to sit where required.
Mark the location with a pencil and confirm that all brackets, shelves or mounting points are level before drilling. For multiple holes, measure twice and use the actual fitting as a template wherever possible.
Do not rely on the plaster surface alone
A fixing that looks centred on the finished wall may still sit near the edge of the brick beneath it. Where the brick pattern is visible elsewhere, use it as a guide. On uncertain walls, begin with a small, controlled pilot hole.
Choose the right drill for the job
The best choice depends on the hardness of the wall, the size of the hole and how often you drill masonry.
A conventional cordless drill driver may manage very soft masonry using a suitable bit, but a hammer drill is the more practical choice for general brickwork. Its hammer action creates rapid forward impacts while the bit rotates, helping the cutting tip work through the material.
For harder brick, repeated masonry work or drilling into concrete, an SDS rotary hammer is more efficient. It uses a more powerful hammer mechanism and an SDS bit system designed specifically for demanding masonry drilling.
Hammer drill
Best for everyday DIY, smaller wall-plug holes and mixed projects involving timber, metal, fastening and occasional brickwork.
SDS rotary hammer
Best for harder masonry, concrete, larger holes and repeated drilling where speed and reduced user effort matter.
Use enough power, not excessive force
A more capable drill should make the work easier. It does not mean you should lean harder on the tool. Excess pressure can overheat the bit, slow drilling and increase the risk of damaging the brick face.
Use a sharp masonry drill bit
The bit must suit the drill, the wall material and the diameter of the wall plug or anchor.
Masonry bits have a hardened cutting tip designed to crush and clear brick, block and concrete. A standard timber or metal drill bit is not suitable and may become damaged without producing a clean hole.
Match the bit diameter to the fixing manufacturer's recommendation. A hole that is too large will leave the wall plug loose, while an undersized hole can cause the plug or brick to split when the screw is inserted.
- Use a conventional masonry bit with a standard hammer-drill chuck.
- Use the correct SDS or SDS-Plus bit with an SDS rotary hammer.
- Check that the cutting tip is sharp and free from obvious damage.
- Use the depth specified for the wall plug or anchor.
- Replace worn bits rather than compensating with extra pressure.
Do not fit an SDS bit into an ordinary chuck
SDS bits and standard round-shank masonry bits use different holding systems. Always use the bit type specified for your drill.
How to drill into brick safely
Start accurately, keep the drill square and progress in a controlled manner.
Mark and recheck the hole
Mark the centre point clearly. Check the bracket position, spacing and level before the drill touches the wall.
Set the drilling depth
Use the drill's depth stop where available, or mark the required depth on the bit with a small piece of masking tape.
Begin slowly
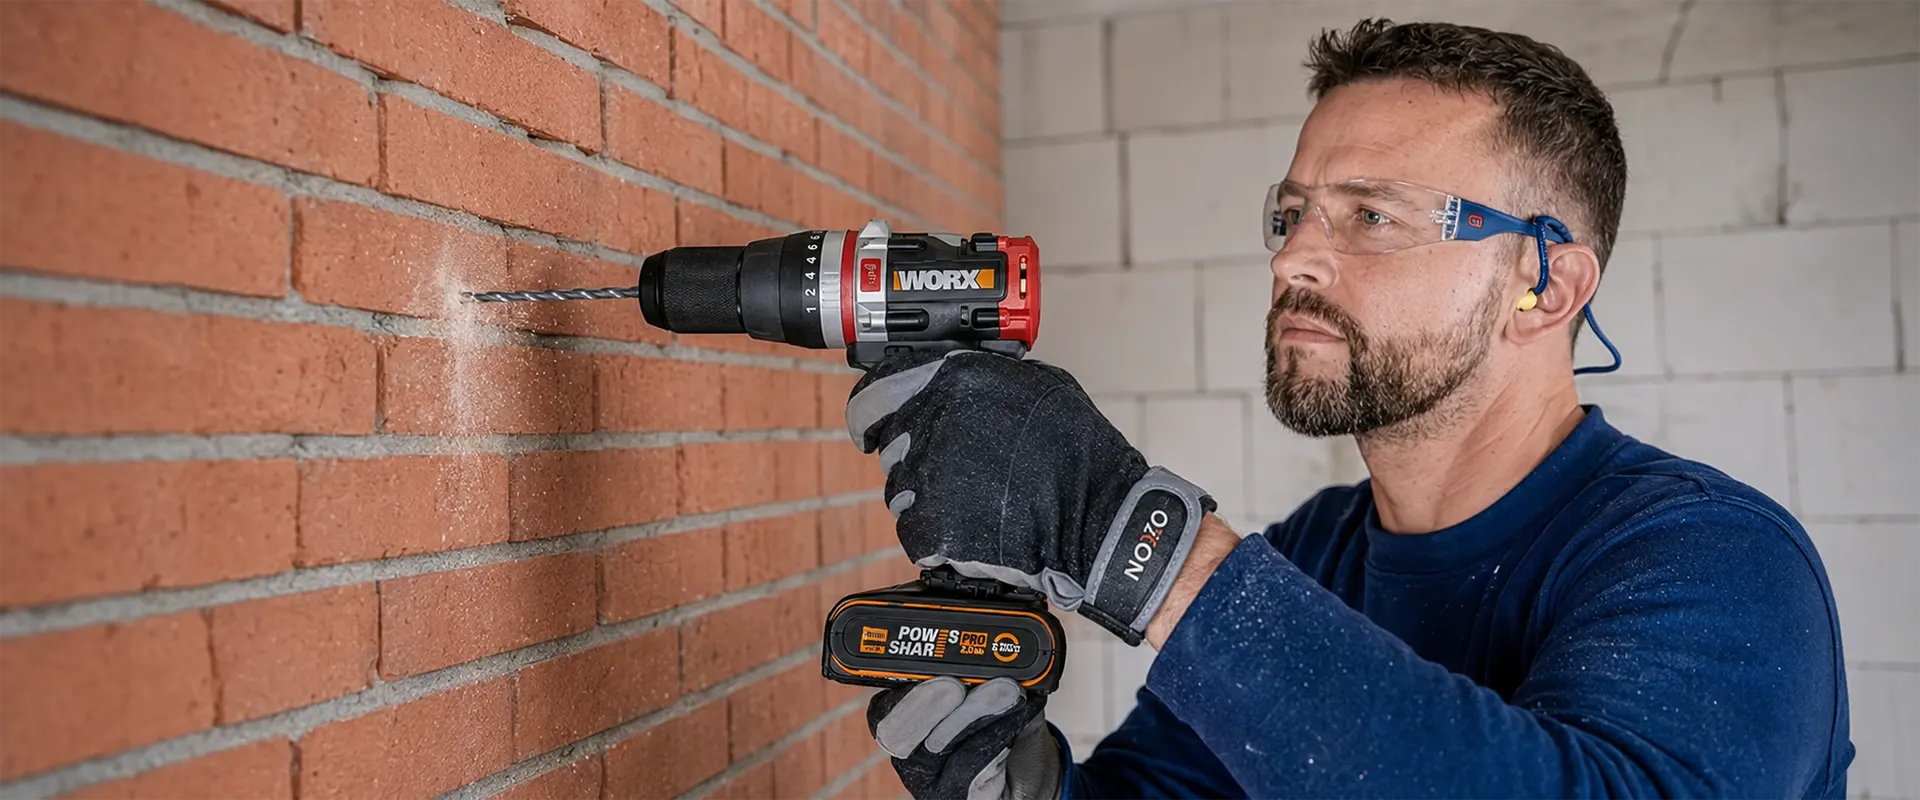
Place the bit on the mark and start at low speed. This helps prevent the bit from skating across the brick face and scratching the surface.
Keep the drill square
Hold the drill perpendicular to the wall unless the fixing instructions specify otherwise. An angled hole can weaken the fixing and make alignment difficult.
Increase speed gradually
Once the bit has established a shallow recess, increase speed and engage the appropriate hammer setting. Maintain steady rather than excessive pressure.
Clear the dust
Withdraw the spinning bit periodically to move dust out of a deeper hole. Stop immediately if the drill binds, the wall begins to crack or the bit encounters an unexpected obstruction.
Clean and fit the anchor
Remove loose dust with a vacuum or suitable blower, then insert the correct wall plug or anchor until it sits at the required depth.
How to reduce the risk of cracking the brick
Most damage is caused by poor positioning, a worn bit or too much force.
Brick is strong under compression but can chip or fracture when concentrated force is applied near an edge. The safest approach is to start slowly, use a sharp bit and keep the hole away from vulnerable corners.
Do
- Drill near the centre of a sound brick.
- Start at low speed to establish the hole.
- Keep the bit straight and the drill stable.
- Use the correct bit diameter and anchor.
- Pause if the wall behaves unexpectedly.
Avoid
- Drilling close to a brick edge or corner.
- Using a blunt or damaged masonry bit.
- Leaning heavily on the drill.
- Forcing a wall plug into an undersized hole.
- Continuing after visible cracking begins.
Consider a pilot hole for difficult positions
When accuracy is especially important, a smaller masonry bit can be used to establish the position before moving to the final diameter. Do not use this method if the fixing manufacturer specifies a different drilling procedure.
Control dust and protect yourself
Masonry dust can irritate the eyes and lungs and may spread quickly through an occupied home.
Wear suitable eye protection whenever drilling. For dusty work, use an appropriate dust mask or respirator and ventilate the area. A second person can hold a vacuum nozzle close to the drilling point, provided their hands remain safely clear of the rotating bit.
Eye protection
Protects against brick fragments and dust thrown forward as the hole develops.
Dust protection
Use suitable respiratory protection, particularly indoors or during repeated drilling.
Hearing protection
Recommended when using hammer action for extended periods or working in an enclosed space.
Stop when the job is outside normal DIY scope
Do not continue where there is a risk of hitting electrical services, gas lines, pressurised plumbing, structural reinforcement or hazardous wall material. Consult a qualified professional when the wall construction or drilling position is uncertain.
Match the fixing to the load
A clean hole is only one part of a secure installation.
The wall plug, anchor and screw must suit both the wall material and the weight being supported. A lightweight picture frame and a large television bracket place very different demands on the wall.
Follow the fixing manufacturer's instructions for drill diameter, hole depth, spacing and load limits. Remember that the final installation is only as strong as the brick, the fixing and the way the load is applied.
- Use plugs intended for solid brick when drilling solid masonry.
- Use cavity or hollow-wall anchors where required by the wall construction.
- Choose corrosion-resistant fixings for exterior installations.
- Confirm the bracket itself is rated for the intended load.
- Seek professional advice for unusually heavy, valuable or safety-critical items.
Choose the right WORX drill
Two cordless options for general masonry work and more demanding drilling.
The correct tool depends on how often you drill brick and whether you also need an everyday drill for screwdriving and general projects. These two WORX options cover the main requirements.
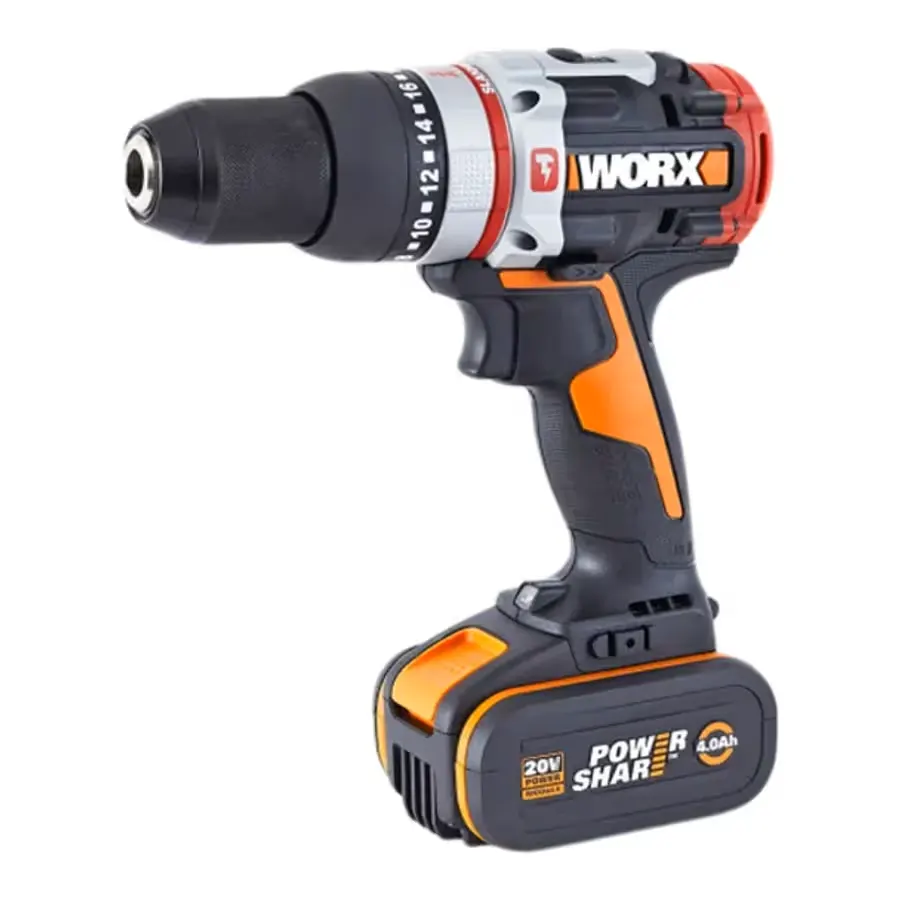
WORX Slammer WX354.1
The Slammer is designed for homeowners and installers who want one versatile cordless machine for screwdriving, general drilling and stronger masonry performance than a conventional hammer drill.
- Suitable for mixed DIY and installation work
- Brushless cordless platform
- Active Hammer Technology for masonry drilling
- Useful where carrying a separate drill and rotary hammer is unnecessary
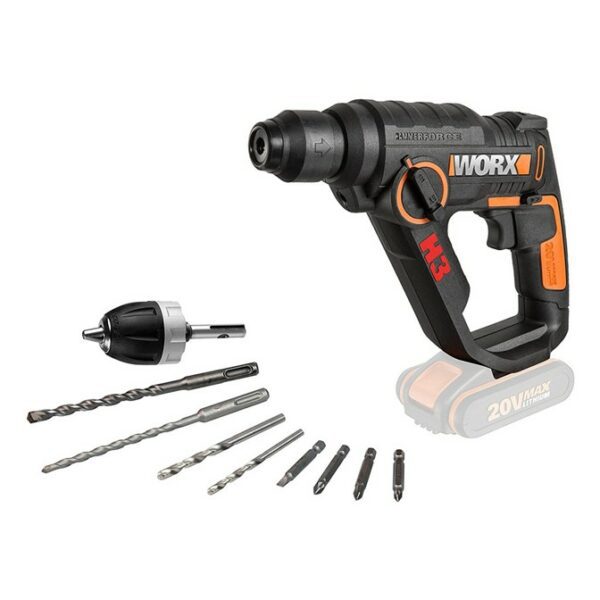
WORX H3 Rotary Hammer WX390.9
The compact H3 is the more specialised choice for users who regularly drill brick, masonry or concrete and want dedicated rotary-hammer performance in a cordless format.
- Dedicated SDS-style masonry drilling
- Well suited to repeated holes and harder materials
- Compact cordless design
- Useful for renovation, installation and demanding fixing work
Final brick-drilling checklist
Run through these checks before starting the drill.
Frequently asked questions
Common questions about drilling brick safely and choosing the right equipment.
Should I drill into the brick or the mortar?
Sound brick generally provides the stronger fixing and is usually preferred for heavier or permanent installations. Mortar can be easier to repair and may suit lighter loads, but weak or weathered mortar may not hold securely.
Do I need a hammer drill for brick?
A hammer drill is normally the practical minimum for efficient drilling into brick. Softer material may sometimes be drilled without hammer action, but harder brick and repeated work are much easier with a suitable hammer drill or SDS rotary hammer.
Should I start with hammer mode switched on?
Starting slowly with controlled rotation can help the bit establish itself without wandering. Once the position is secure, select the appropriate hammer mode for the material and tool. Always follow the instructions supplied with the drill.
Why is my masonry bit not drilling properly?
The bit may be blunt, the drill may be in the wrong operating mode, or the wall may be harder than expected. Stop and inspect the bit rather than applying more pressure. Also confirm that the bit type is compatible with the drill.
How deep should I drill into brick?
Drill to the depth specified by the wall-plug or anchor manufacturer, allowing enough room for drilling dust where required. A depth stop or tape marker on the bit helps prevent over-drilling.
Can drilling crack the brick?
Yes. The risk increases when drilling close to an edge, using a worn bit, forcing the drill or inserting an oversized plug into a small hole. Correct positioning, a sharp bit and steady pressure reduce the likelihood of damage.
Can I use an ordinary drill bit on brick?
No. Use a proper masonry bit. Timber and metal bits are not designed to cut brick and may become damaged or create an inaccurate hole.
Which WORX drill is best for brick?
The WORX Slammer WX354.1 is the versatile choice for mixed DIY, fastening and masonry work. The WORX H3 WX390.9 is the more specialised choice for repeated drilling in brick, masonry and concrete.